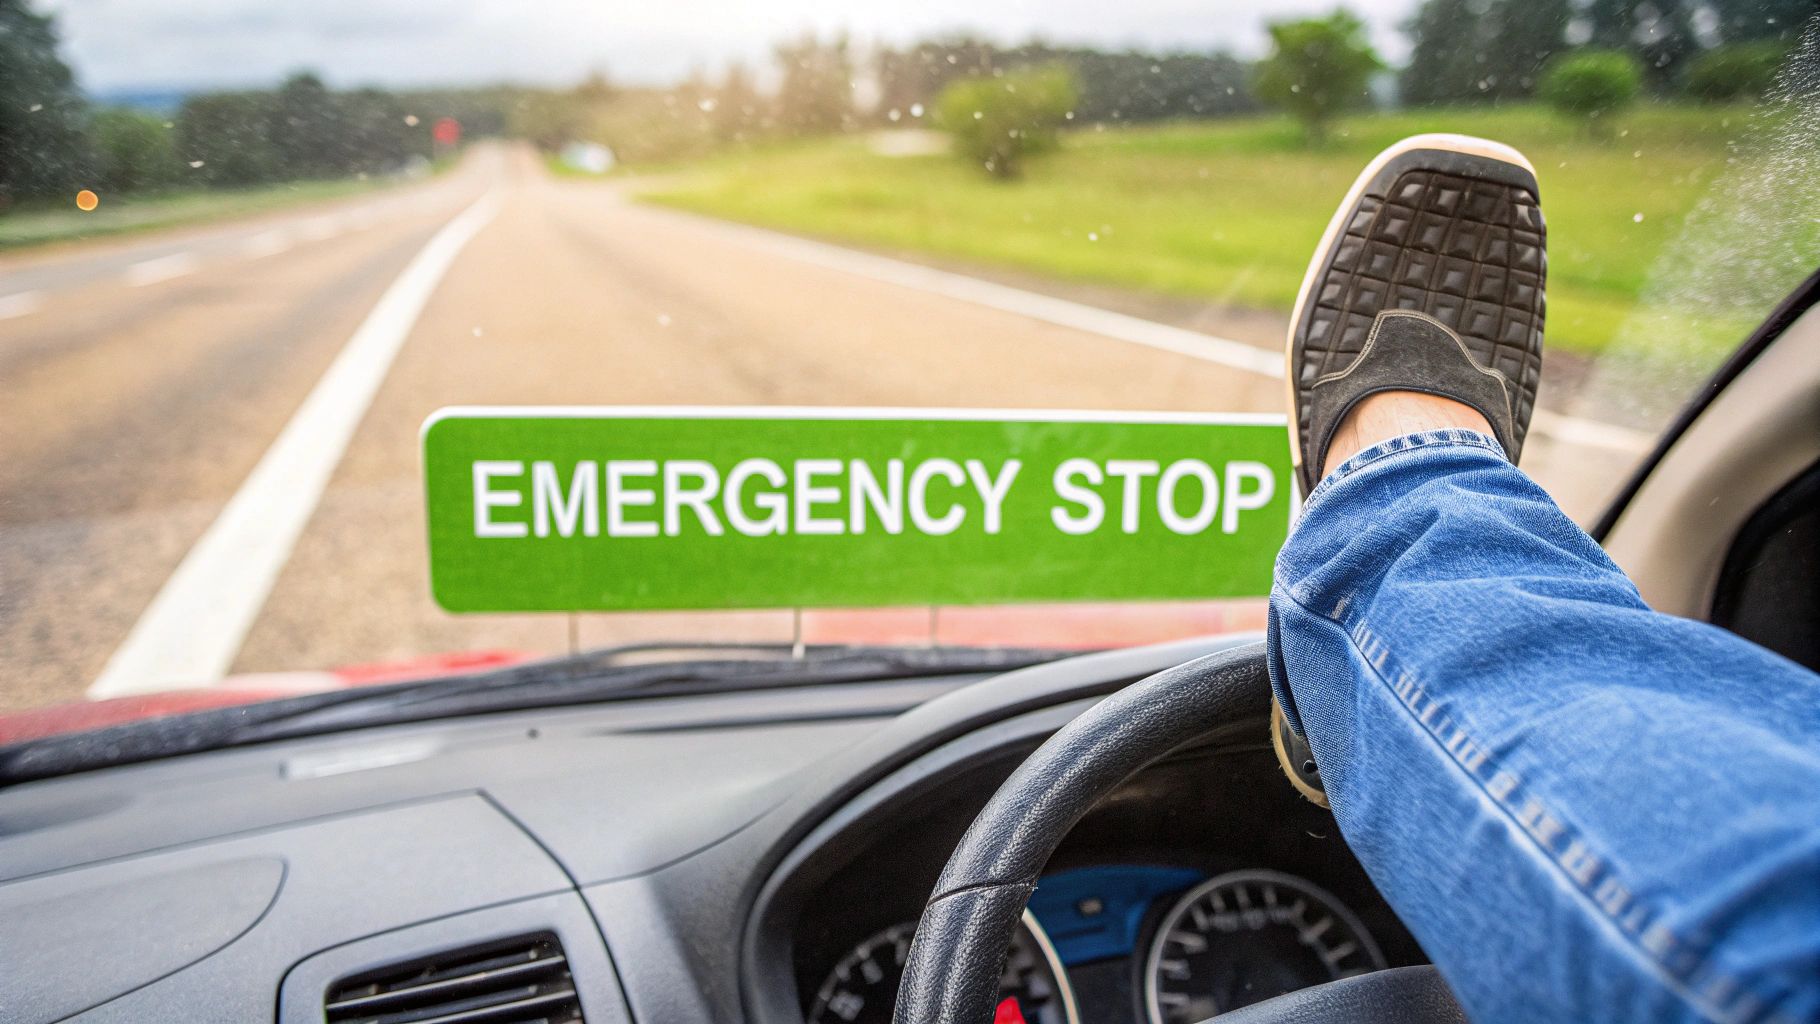
The Anatomy of a Perfect Emergency Stop

The emergency stop: a maneuver that can be crucial to your UK driving test. This section breaks down exactly what examiners look for, going beyond simply stopping quickly. It's about demonstrating control, observation, and safe practice. This means understanding not only the mechanics but also the mindset behind a successful emergency stop.
Understanding the Examiner's Expectations
The examiner isn't just assessing your braking skills. They’re looking for a comprehensive understanding of safety procedures. This includes checking your mirrors before and after the stop, maintaining a straight steering wheel, and demonstrating proper clutch control (for manual vehicles). They also observe your overall composure and reaction time. A smooth, controlled stop, combined with calm and confident actions, demonstrates competence.
The Emergency Stop Procedure
For a flawless emergency stop, follow these steps:
-
Hazard Detection: The examiner will signal to stop with a verbal command and a raised hand. A real-world hazard could also necessitate the maneuver. Immediately assess the situation.
-
Firm Brake Application: Apply the brakes firmly, yet progressively, avoiding a harsh, abrupt stop. This helps maintain steering control, especially important in vehicles without ABS.
-
Clutch Control (Manual Cars): Depress the clutch as your speed decreases to prevent stalling. Coordinate this with your braking for a smooth transition to a complete stop.
-
Complete Stop and Observation: Once stopped, check your mirrors again to be sure you haven't created a hazard for other drivers. Maintain a secure grip on the steering wheel throughout the entire process.
To improve safety and preparedness during your driving test, consider using a structured checklist, much like a drone pre-flight checklist. While seemingly unrelated, the principles of preparation and safety checks are applicable to the driving test environment. This structured approach encourages thoroughness and attention to detail.
The Evolving Role of the Emergency Stop
The emergency stop's importance in the driving test has recently decreased. Previously a standard element in one in three tests, the DVSA now includes it in only one in seven. This change acknowledges improved vehicle safety features like ABS and a greater emphasis on other driving skills. The trial started on May 6, 2025, at 20 UK test centers and reflects the changing nature of driving assessments. More information is available here. This underscores the importance of staying current with the latest DVSA guidelines. However, mastering the emergency stop remains vital for safe driving practices, even after the test.
Emergency Stop Evolution: From Critical to Occasional Test
The emergency stop has a long and interesting history in the UK driving test. This section explores its changing importance over time, providing valuable context for learners. Understanding this evolution helps you approach the test with a better understanding of its current focus.
From Essential Skill to Modern Assessment
The emergency stop was once a vital part of the driving test, reflecting the limitations of older vehicles. In 1935, when the test began, cars lacked the advanced braking systems and safety features common today. This made the emergency stop a necessary skill, potentially life-saving in real-world situations. Imagine stopping quickly on a wet road without Anti-lock Braking Systems (ABS). This would have been incredibly difficult and required significant skill.
Vehicle technology improved over time, and so did the emergency stop’s role in the test. The arrival of ABS in 2004 was a major advancement. ABS significantly reduced skidding during hard braking, making emergency stops simpler. The test then shifted focus from braking skill to broader safety awareness and control.
This shift continues today. The emergency stop was initially crucial in 1935 due to less effective brakes and fewer safety features. As technology progressed, the need for regular testing decreased. For more detailed information, see this article on driving test changes.
The May 2025 Trial: A New Direction
The evolving role of the emergency stop led to the May 2025 trial. This trial, involving up to four examiners at each test centre and continuing until August 2025, significantly reduces how often the emergency stop is tested. It’s now estimated that only one in seven tests will include it. This reflects the DVSA's decision to prioritize other skills relevant to modern driving conditions.
Preparing for the Future of Driving
This reduced emphasis doesn’t make the emergency stop any less important in real-world driving. While ABS and other features help with stopping, knowing how to react quickly and safely in a true emergency is still vital. Even though the test is changing, preparing for a potential emergency stop remains a key part of driving lessons. This preparation builds essential skills and confidence, preparing you for the everyday challenges of driving.
Executing the Emergency Stop That Examiners Remember
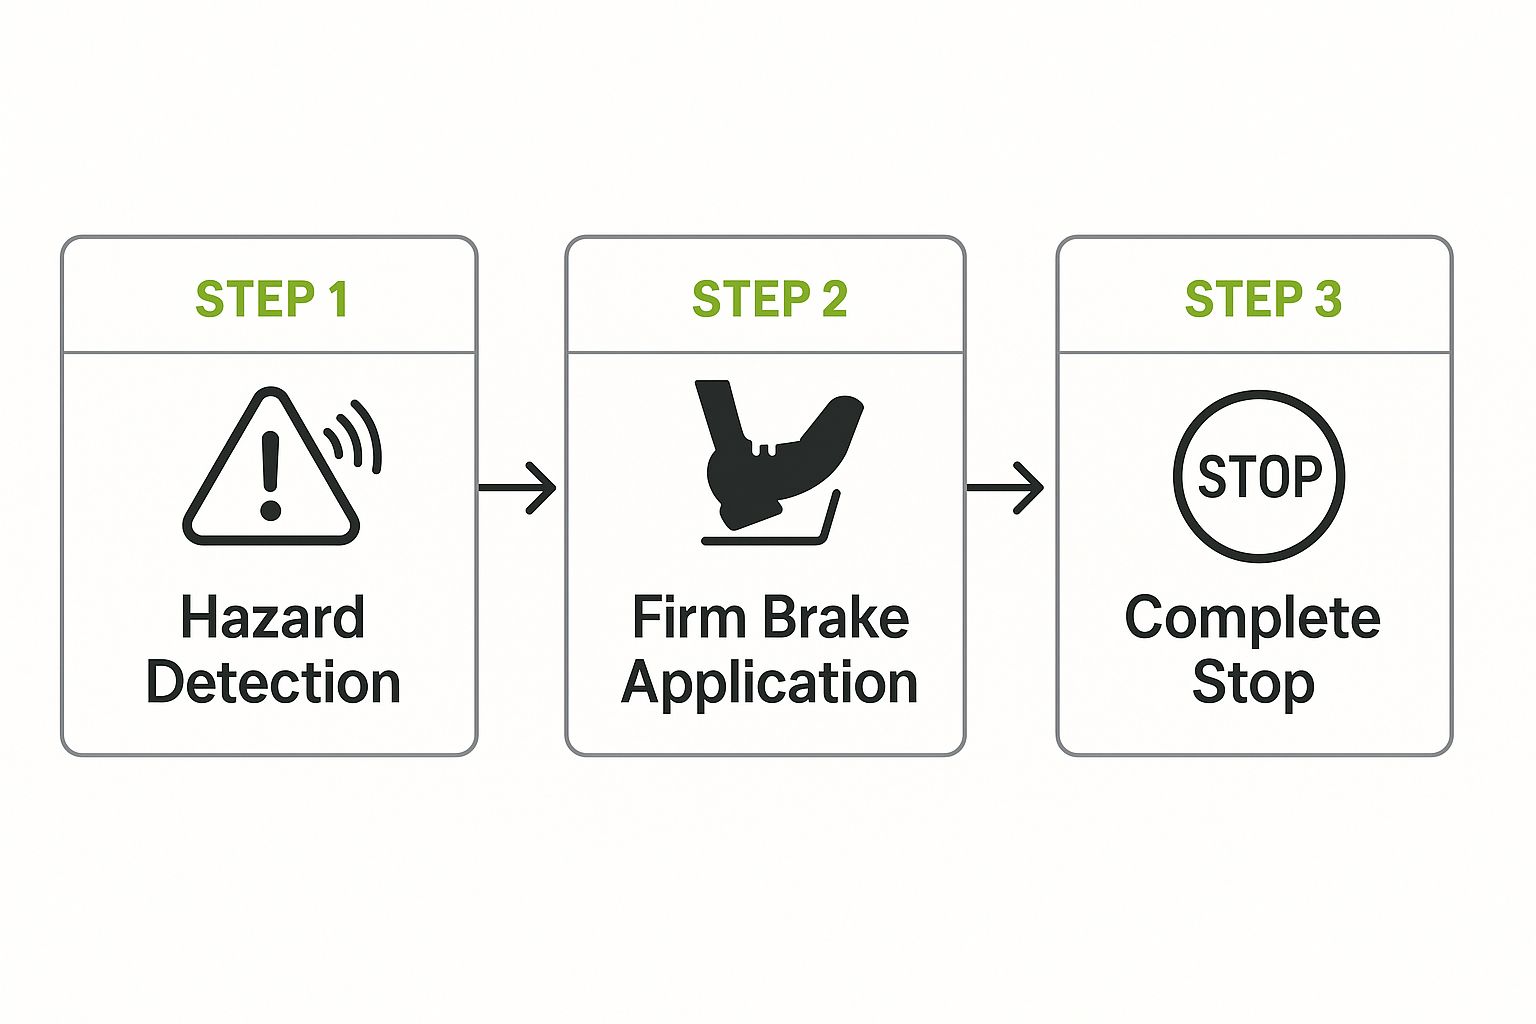
This infographic illustrates the three key steps involved in performing an emergency stop: Hazard Detection, Firm Brake Application, and Complete Stop. It provides a clear visual guide to the process. Each step builds upon the previous one, highlighting the importance of a smooth, controlled stop.
This clear, three-stage process emphasizes the quick transition from recognizing a hazard to bringing the vehicle to a halt. Practicing each stage individually will ultimately improve your overall reaction time and control. However, a perfect emergency stop is about more than just stopping the car. It's about showing competence and control in a potentially high-pressure situation. This section breaks down the procedure, offering expert advice to help you impress your examiner. For more tips on passing your test, check out this helpful resource: How to master the skills for passing your driving test first time.
Hand Positioning and Braking Technique
Correct hand positioning is vital during an emergency stop. Keep a firm grip on the steering wheel in the 10 and 2 or 9 and 3 position. This helps maintain control and steer straight, preventing any unwanted swerving.
Proper braking technique is also key. Progressive braking is essential to prevent skidding, particularly in vehicles without ABS (Anti-lock Braking System). This involves applying firm pressure to the brake pedal and gradually increasing the force as the car decelerates.
Visual Awareness: What Examiners Look For
Examiners carefully observe your visual awareness during this manoeuvre. They look for mirror checks before initiating the stop to assess the situation behind you.
They also expect you to check your mirrors again after stopping. This ensures you haven't created a hazard for other road users. A quick glance can help you spot approaching vehicles, preventing potential collisions. This demonstrates not just awareness, but consideration for others – a crucial aspect of safe driving.
ABS vs. Non-ABS Vehicles
The technique for an emergency stop varies slightly between vehicles with and without ABS. With ABS, you can apply firm, continuous pressure to the brake pedal. The system prevents wheel lock-up, allowing you to maintain steering control.
In a non-ABS vehicle, you must be more cautious with braking. Modulating the pressure prevents the wheels from locking and causing a skid. Understanding your vehicle’s braking system is therefore essential.
Maintaining Composure Under Pressure
For many learner drivers, the emergency stop is the most stressful part of the driving test. Staying calm is vital for executing the manoeuvre correctly.
Deep breaths and focused attention help you stay composed. This allows you to react efficiently to the examiner's signal and perform the stop smoothly and safely. Practice under simulated test conditions can build confidence.
The following checklist summarizes the key steps and common errors to avoid during the emergency stop procedure.
To help you prepare, we've compiled a detailed checklist outlining the emergency stop procedure, common mistakes, and what the examiner will be looking for.
Emergency Stop Procedure Checklist
| Step | Action Required | Common Mistakes | Examiner's Focus |
|---|---|---|---|
| 1 | Hazard Detection | Failing to react promptly | Reaction time |
| 2 | Mirror Checks (Before) | Forgetting to check mirrors | Observation skills |
| 3 | Firm Brake Application | Braking too harshly or too gently | Control and smoothness |
| 4 | Steering Control | Swerving or losing control of the steering wheel | Vehicle handling |
| 5 | Complete Stop | Stopping too abruptly or too slowly | Safe and controlled stop |
| 6 | Mirror Checks (After) | Neglecting to check mirrors after stopping | Awareness of surroundings |
| 7 | Maintaining Composure | Panicking or becoming flustered | Calmness and confidence |
This checklist provides a practical guide for practicing the emergency stop. Mastering these steps will not only improve your chances of passing the test but also equip you with essential skills for safe driving. Remember, consistent practice and a calm demeanor are key to success.
Critical Errors That Cause Instant Test Failures
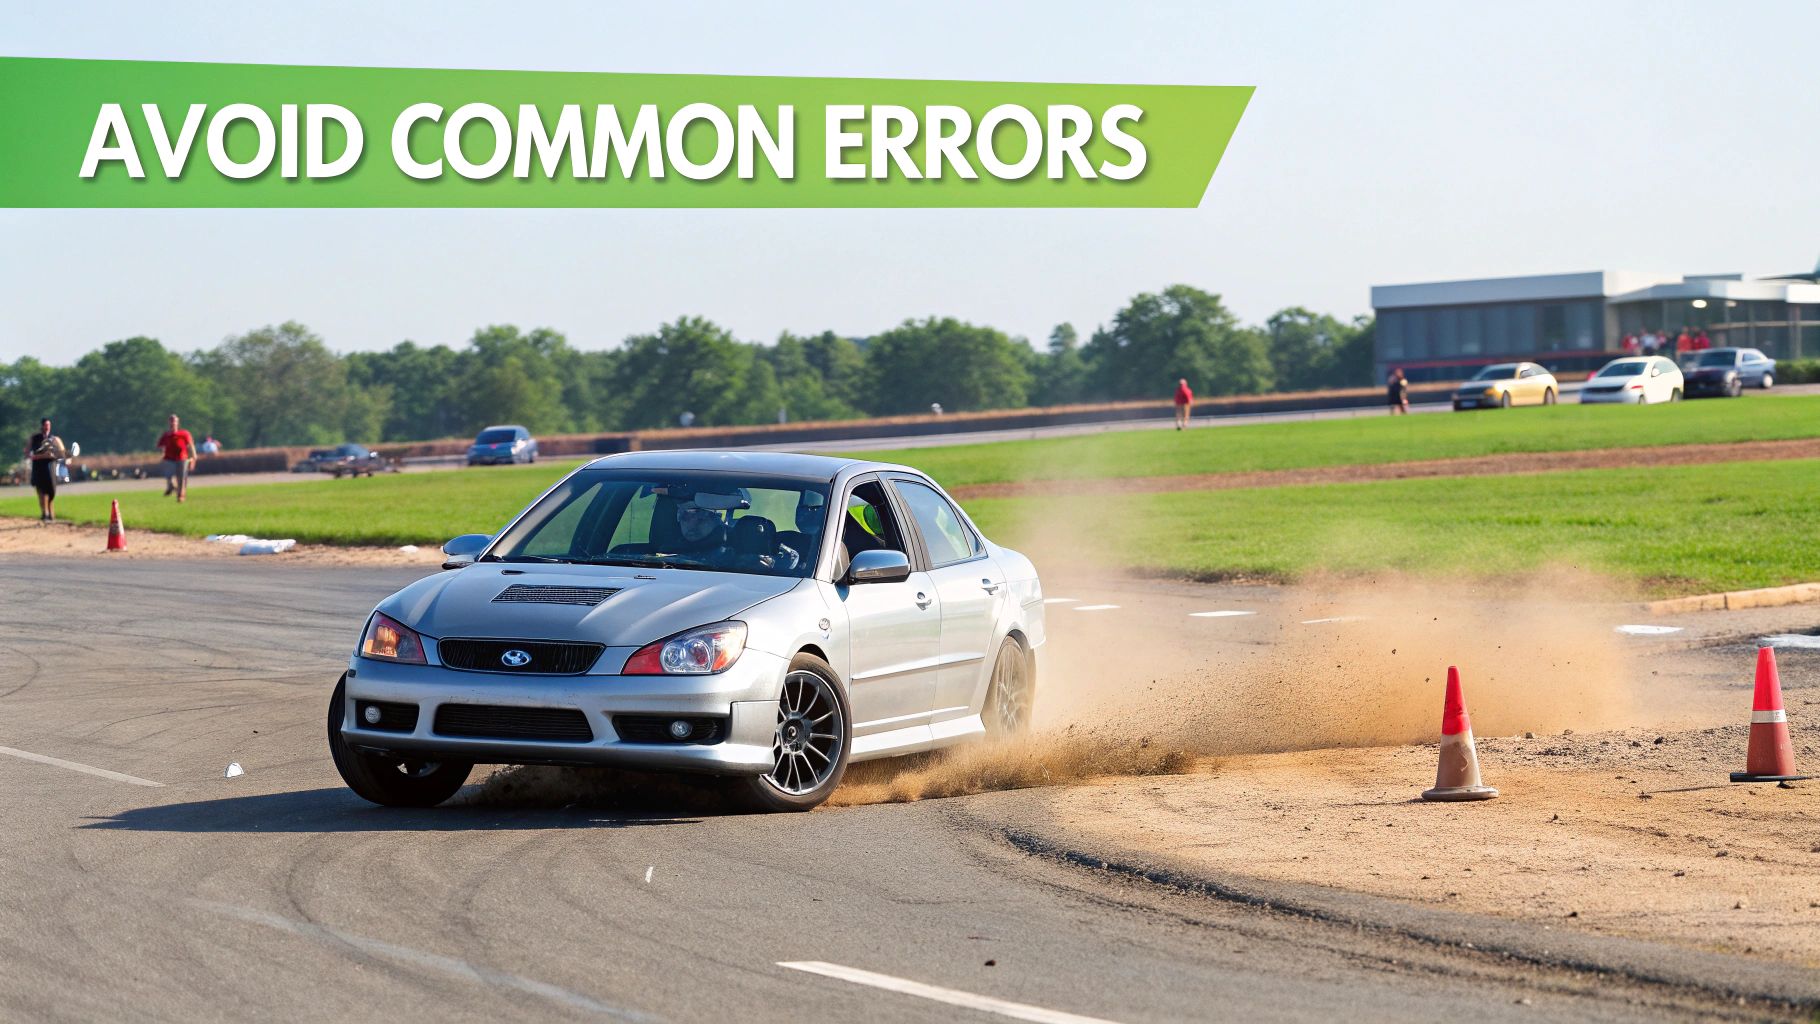
While the emergency stop is less common on the UK driving test these days, performing it incorrectly can still result in an immediate fail. This section explores some of the most frequent errors learner drivers make, often due to nerves and anxiety about the test. Understanding these pitfalls can help you avoid them on your test.
Steering Issues: Staying on Track
A critical error is failing to maintain a straight path during the emergency stop. This frequently occurs because of a sudden, sharp turn of the steering wheel when reacting to the examiner’s instruction. Consistent hand positioning and applying the brakes smoothly are vital to prevent swerving. This demonstrates control and ensures the car remains safely within its lane, preventing potential accidents in real-world driving.
Observation Oversights: Mirror Check Mistakes
Another common mistake is forgetting to check your mirrors. Remember, safety and awareness are crucial. Mirror checks are essential before and after the stop. The examiner assesses both to confirm you've observed potential hazards behind you and are aware of your surroundings after stopping. Neglecting these checks shows a lack of awareness and can lead to a major fault, resulting in a failed test. Forgetting to check your surroundings after stopping also indicates a lack of consideration for other road users.
Clutch Control Challenges: Stalling Out
For learners driving a manual car, improper clutch control can be a significant problem. Failing to depress the clutch sufficiently as the car slows can cause the engine to stall during the emergency stop. This demonstrates poor coordination between braking and clutch operation, potentially leading to an instant fail. Furthermore, harsh braking without smooth clutch control can be uncomfortable for passengers, emphasizing the importance of a smooth and controlled stop.
Psychological Pitfalls: Panic and Anticipation
Many emergency stop errors originate from psychological factors. Anticipation anxiety can cause premature braking or jerky movements. Similarly, panic can cause drivers to freeze or overreact to the examiner's signal. These anxieties can disrupt the maneuver and result in critical mistakes. How to master common driving test mistakes offers helpful advice on managing test-day nerves. Regularly practicing the emergency stop in simulated test conditions builds confidence and helps manage these anxieties, developing the muscle memory and mental resilience needed to remain calm and focused.
Building Confidence and Competence
Successfully performing the emergency stop requires a combination of physical skill and mental preparedness. Consistent practice with a qualified driving instructor can help develop smooth, controlled braking, proper steering techniques, and consistent observation habits. Additionally, learning strategies to manage test anxiety can help you stay calm and focused under pressure. By addressing both the physical and mental aspects of the emergency stop, you will build the confidence and competence necessary to pass your test and become a safer driver.
Inside the Examiner's Marking Sheet: What They're Noting
Understanding how driving examiners evaluate the emergency stop is crucial for success on your UK driving test. This section explores the examiner's marking sheet, revealing the specific criteria used to assess your performance. Knowing what they're looking for allows you to refine your practice and concentrate on the key elements.
Key Assessment Areas
Examiners assess several key areas during the emergency stop, going beyond simply stopping quickly. They observe your overall control of the vehicle, your observation skills, and your composure under pressure.
-
Control: This includes maintaining a straight steering wheel, avoiding harsh braking that might cause skidding, and demonstrating smooth clutch control in manual cars.
-
Observation: Critically, examiners look for proper mirror checks before and after the stop. This shows awareness of your surroundings and consideration for other road users.
-
Composure: Remaining calm throughout the maneuver is essential. Panicking can negatively affect your score.
Distinguishing Between Minor and Major Faults
The examiner differentiates between minor and major (serious) faults. Minor faults, while not ideal, don't automatically mean a fail. However, accumulating too many can result in an overall unsuccessful test. Major faults indicate a serious safety issue and will result in an immediate fail.
For example, slightly jerky braking might be a minor fault, whereas not checking your mirrors before the stop is a major fault. Being aware of these distinctions is important, just like understanding the process of changing insurance providers can prevent future headaches. You can learn more here: How to Change Insurance Companies.
Timing Considerations
While examiners don't time your emergency stop with a stopwatch, they assess your reaction time and the overall smoothness of the maneuver. Hesitating before braking or stopping too abruptly can both be problematic.
What Impresses Examiners: Going Beyond the Basics
While meeting the basic requirements is necessary, certain actions can truly impress an examiner.
-
Smooth, controlled braking: This demonstrates skill and confidence.
-
Prompt and accurate mirror checks: This highlights good observation habits.
-
Maintaining a calm and focused demeanor: This shows good driving habits and preparedness. For more test preparation tips, check out this helpful resource: How to Master the Driving Test Checklist.
Emergency Stop Assessment Criteria
The following table summarizes the key assessment points examiners look for during the emergency stop maneuver. It clarifies how each area is assessed and provides examples of both minor and major faults. This information will be crucial in helping you understand the standards expected and prepare effectively for your test.
| Assessment Area | Pass Standard | Minor Fault Example | Major (Serious) Fault Example |
|---|---|---|---|
| Reaction Time | Responds promptly to the signal | Slight hesitation before braking | Significant delay in reacting |
| Braking | Smooth, controlled braking | Jerky or uneven braking | Harsh braking causing skidding |
| Steering | Maintains a straight course | Slight deviation from the lane | Significant swerving |
| Clutch Control (Manual) | Smooth coordination with braking | Slight juddering or stalling | Stalling the engine |
| Mirror Checks | Checks mirrors before and after | Forgets one mirror check | Fails to check mirrors at all |
| Composure | Remains calm and focused | Appears slightly nervous | Panics or becomes flustered |
By understanding these criteria, you can practice effectively and develop the skills and confidence needed not only to pass the test but also to become a safer, more competent driver.
Practice Protocols That Transform Test Performance
This section goes beyond general tips and offers structured practice routines designed to help you ace the emergency stop driving test. These protocols, drawn from advanced driver training techniques, will build both your skill and your confidence behind the wheel.
Creating Realistic Test Conditions
Effective practice involves recreating the test environment as accurately as possible. Find a safe, off-road area, such as an empty parking lot, and simulate the examiner's instructions. Have a friend or family member act as the examiner, providing the verbal cues and hand signals. This helps you become comfortable with the test procedure and reduces test-day anxiety. Furthermore, diversify your practice locations and conditions. Practicing in different settings, including varied road surfaces and lighting, will prepare you for the unexpected in real-world driving situations.
Optimal Practice Frequency and Duration
Consistency is paramount for developing muscle memory. Focus on short, frequent practice sessions rather than long, infrequent ones. Two or three 15-minute sessions a week are more beneficial than a single hour-long session. This distributed practice promotes better information retention and skill development, allowing your brain to process the information more effectively. This translates to improved performance on the actual test. Remember, quality trumps quantity.
Incorporating Varying Speeds and Conditions
Begin practicing at slower speeds and gradually increase the speed as you become more confident. This allows you to concentrate on the proper technique before introducing the added challenge of higher speeds. Practice on different road surfaces as well, if it’s safe and legal to do so. This will give you a better understanding of how your vehicle handles under various conditions. For example, braking distances are longer on wet or icy roads, necessitating earlier and smoother brake application. This practice translates to safer and more confident driving.
Self-Assessment and Tracking Progress
Use self-assessment methods to monitor your improvement. After each practice session, take time to reflect on your performance. Identify areas where you performed well and pinpoint areas needing additional attention. A simple checklist can be a useful tool for tracking progress. This practice helps you identify recurring errors and target specific areas for improvement in subsequent sessions. Regular self-assessment contributes to better test performance and increased driver confidence.
Managing Anxiety with Verbal Cues
Verbal cues can be effective for managing anxiety during practice. Create a set of calming phrases, such as "Stay calm," "Breathe," and "Focus." Repeat these phrases to yourself both before and during each practice session. These cues can help interrupt negative thought patterns and maintain composure. For instance, if you begin to feel overwhelmed, repeating "Stay calm" can help you regain control.
Integrating Emergency Stops into General Driving (Safely)
It's beneficial to incorporate emergency stop practice into your regular driving sessions, whenever it's safe to do so. While driving with a qualified instructor, ask them to periodically simulate emergency stop situations. This helps you apply the technique in a more realistic driving context. Prioritize safety above all else. Never practice emergency stops in hazardous situations or in a manner that could endanger other drivers. As an example, during a typical driving lesson, ask your instructor to call out "Emergency Stop!" without warning to simulate a real-world scenario.
Ready to expedite your journey to driving success? Fast Pass Driving Courses offers intensive and semi-intensive driving lessons throughout the UK, tailored to individual needs. Book your course today and accelerate your path to becoming a confident, qualified driver!